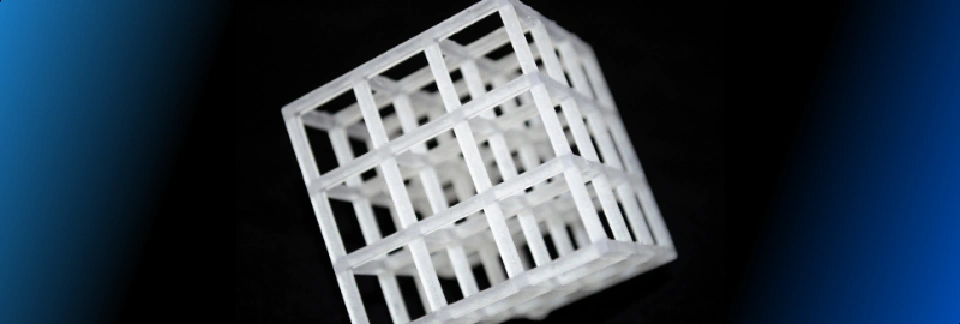
The key to successful stereolithography (SLA)[^1] 3D printing lies at the intersection of chemistry, hardware and software. The photopolymer recipe, the optics of the printer, and the print settings are all interdependent. If you make a big change to one, you will likely need to tweak the other two. Despite the fact that SLA printing is now fully democratized (there is a Kickstarter running right now for (yet another) $150 SLA printer), there is not much useful information online about how to ‘dial-in’ a reliable SLA printing process.
(Process = resin + hardware + software)
It is easy to find plenty of discussions online with tips and tricks for specific cure times for specific printers for specific resins. This can be useful to those who are just getting started with SLA, but you don’t truly learn anything if you are simply given the answer. The dirty secret of SLA printing is that the percentage of print failures is very high. Part of the problem is the high variance of the hardware (especially for cheaper printers), which makes it difficult for two people to get the same answer on the ‘same’ printer (or for one person with multiple printers to use the same settings across all of them with any success). There is an insane amount of trial and error that goes into ‘quality control’, even at the biggest SLA companies in the world. If you have money, you can find a company to do this for you, but at the end of the day someone is doing a ton of empirical tweaking to get things to work.
I am more interested in fundamentals than specifics. I am not discounting or disparaging the empirical ‘sausage making’ that goes into refining the SLA process. In fact, I have a deepened respect for this work after spending a few years trying to ‘dial-in’ a new photopolymerization process. However, I feel strongly that today’s dialog is severely lacking a meaningful discussion of the fundamentals of stereolithography. Brian Adzima is an exception. He has posted a ton of really useful content on the fundamentals of photopolymerization, including this introduction to SLA/DLP, based largely on his work on the Ember at Autodesk. I highly recommend reviewing his Instructables posts.
As part of my mission at polySpectra to ‘out-teach the competition’, I thought it would be fun to write a web app that would serve as a utility to those interested in SLA printing. The calculations in the utility are based on the work of Paul F. Jacobs[^2], who developed a very useful photochemical model of SLA printing during his time as the Director of R&D at 3D Systems. The tool is written in Dash, which is a really fun Python framework for building web applications. In order for this tool to be useful, you will need to be able to measure the ‘working curve’ of the resin in your printer, which will give you two characteristic parameters: the penetration depth (Dp) and the critical exposure (Ec). Brian Adzima has great Instructables for how to get a working curve on DLP and SLA printers.
This model makes a lot of assumptions (see details inside), so I will reiterate that the accuracy of this utility will dramatically increase if you experimentally measure your own values for Ec and Dp on your printer. In this way, you are measuring the effective values for your system, which can account for many of the non-linearities and non-idealities that occur in moving from the theoretical to the experimental. I’ve embedded the tool below, or you can go to https://workingcurve.herokuapp.com .
The top half of the application won’t surprise anyone who is familiar with the Jacobs work. My goal was simply to make it easy to use. There are a couple of additions to the application that are not discussed in the Jacobs text, although they can be easily derived from his equations. Specifically, I have added a function that integrates the “print through” exposure from printing subsequent layers. The amount of light absorbed per layer depends on the layer thickness and the penetration depth (Dp). In the Beer-Lambert simplification we use here (no scattering) - all of that extra light simply passes through to the next layer. Depending on the ratio of the layer thickness to the penetration depth, this extra light may or may not have enough energy (>Ec) to result in “print through” - the phenomenon that cantilevered features can have a larger thickness than designed because of this extra unabsorbed light. So the three terms we add are:
- “Maximum” Volumetric / Multilayer Exposure (horrible name I know) - the total amount of light that a layer would receive if we printed many subsequent layers afterwards
- “Maximum” Print Through Exposure - the total amount of ‘extra’ light that an empty (unexposed) layer would receive if we printed many subsequent layers afterwards
- “Maximum” Additional Cure Depth - The corresponding cure depth for this print through exposure, which would contribute to the error in the thickness of a cantilevered (overhung) feature
I hope this will be a useful utility to those interested in the fundamentals of photopolymerization. If you really want to see what is going on here, I would encourage you to dive into the source code we have hosted on GitHub. This is an open source project and I would greatly appreciate your thoughts on how we can improve this tool to make it more useful to you. Just head over to GitHub and open a new issue. Or fork it and make it better!
- I use the word stereolithography to include all of the branded variations on vat photopolymerization, each with their own acronyms: DLP, LCD SLA, CLIP/DLS, etc.
- P.F. Jacobs - Rapid Prototyping & Manufacturing: Fundamentals of Stereolithography


